Hi Folks! In this blog, we will learn what is serverless and how to setup and deploy the serverless application
What is Serverless?
Serverless is the latest concept of using FAAS (Function As A Service), where users are totally free of managing the underlying infrastructure and systems. The cloud provider takes all the responsibility to handle OS architecture, Deployment services and the server’s availability as well.
In the serverless concept, users can focus more on the business logic and are less concerned about the deployment. The following timeline represents the revolution of servers:
Bare Metal Servers -> Virtual Machines -> Containers -> Serverless
What are the benefits of Serverless?
Serverless has several benefits over conventional server-based architectures. Below are some examples:
a) Cost-efficient: The developers pay only for the part of the capacity that they use. And, it costs only for the amount of time their service is executing.
b) FTM (Faster time to market): The developers do not need to manage the infrastructure which helps applications to be deployed faster.
c) Polyglot Environment: This concept supports multiple languages. It helps the developers to switch to other languages if they are not comfortable with one.
d) Auto scalable: The users do not need to worry about the resources and deployment formalities.
Java Sample application
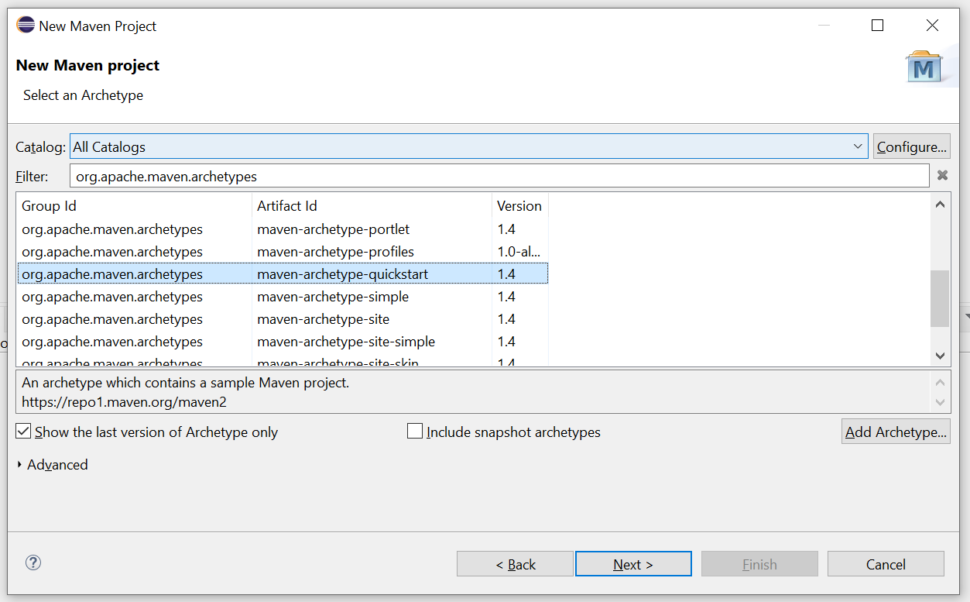
Open Eclipse: Select File -> New -> Project -> Maven and then select Maven Project. click on Next.
Select your Eclipse Workspace and select Next > and select maven-archetype-quickstart as Artifact Id.
Once you select Next > it will ask for a few details like Group Id, Artifact Id, and Version parameters for your project which you want to specify.
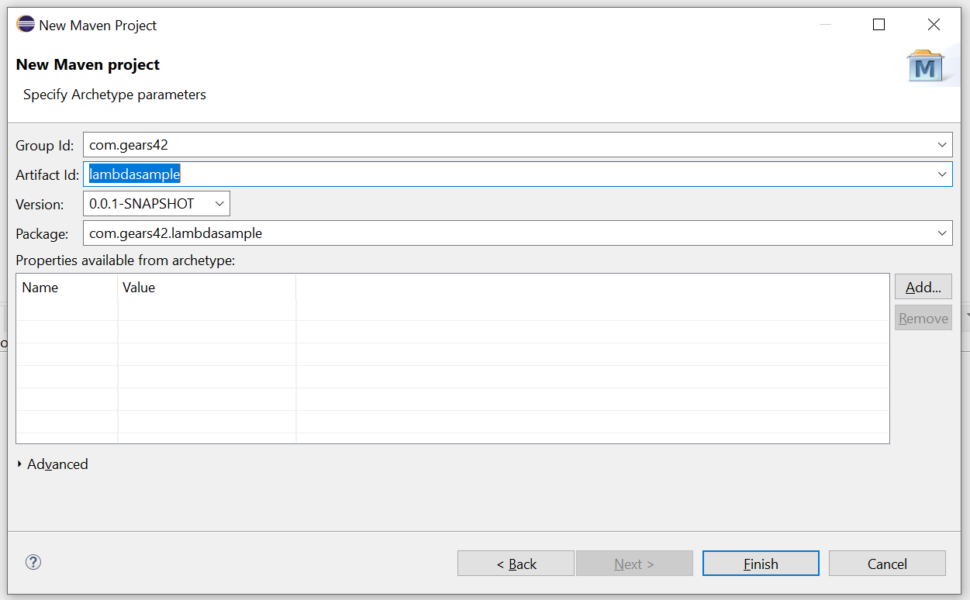
Once you click on Finish, the eclipse will create a sample project with the java files below:

Now, open the pom.xml file and add the below dependencies to the dependencies tag,
<dependency>
    	<groupId>com.amazonaws</groupId>
    	<artifactId>aws-lambda-java-core</artifactId>
    	<version>1.2.0</version>
    </dependency>

    <dependency>
    	<groupId>com.amazonaws</groupId>
    	<artifactId>aws-lambda-java-events</artifactId>
    	<version>2.2.7</version>
    </dependency>
Also, add below code inside plugins tag:
 <plugin>
    <groupId>org.apache.maven.plugins</groupId>
    <artifactId>maven-shade-plugin</artifactId>
    <executions>
        <execution>
            <phase>package</phase>
            <goals>
                <goal>shade</goal>
            </goals>
        </execution>
    </executions>
</plugin>
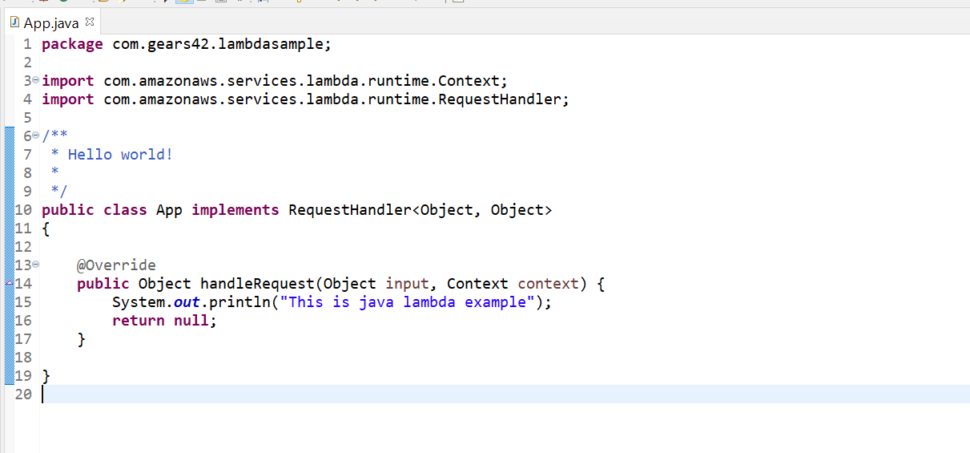
Now, open the App.java file and replace the below code in your java file:
public class App implements RequestHandler<Object, Object>
{

	@Override
	public Object handleRequest(Object input, Context context) {
		System.out.println("This is java lambda example");
		return null;
	}

}
After replacing, the file will look like this:
Deploy Sample App
To generate build of the app, Select project directory and open Run Configurations > Maven Build > New launch configuration
In the Goals section, give package in goal field and click on Run
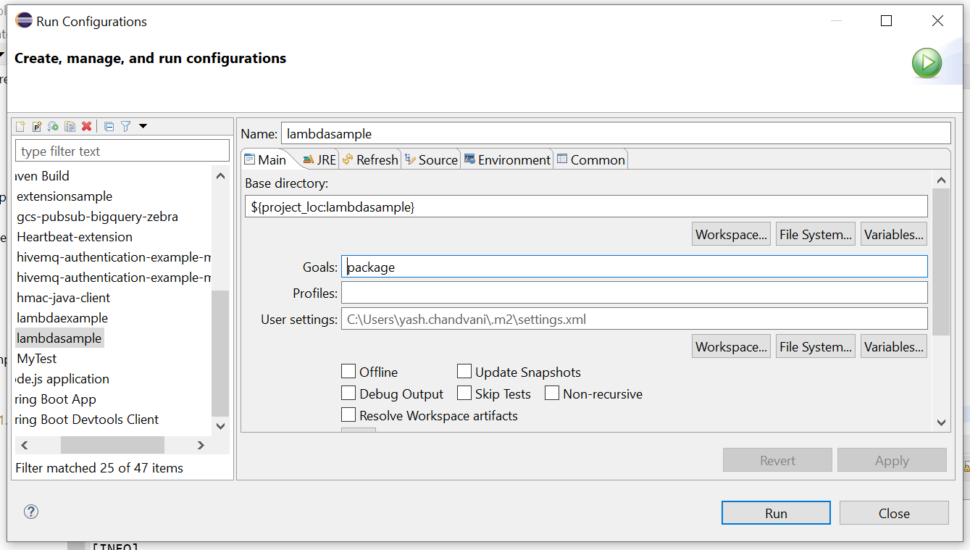
The output will look like this:

Deploy Sample App into AWS
Login to AWS console and select Lambda Service from AWS Services.
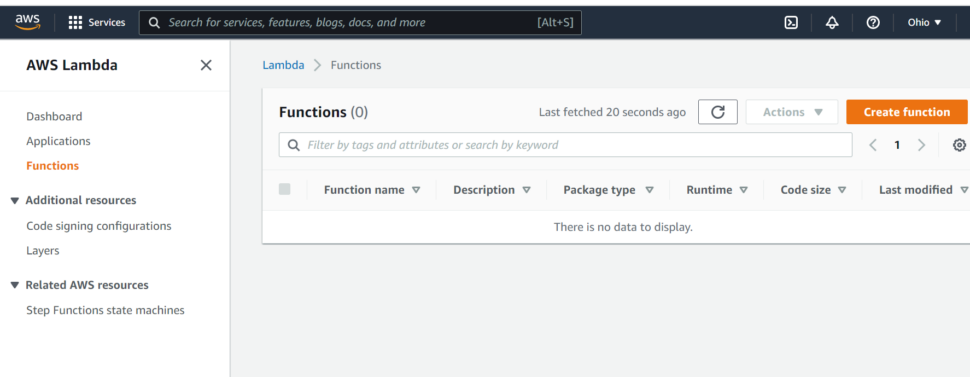
Then, click on Create function
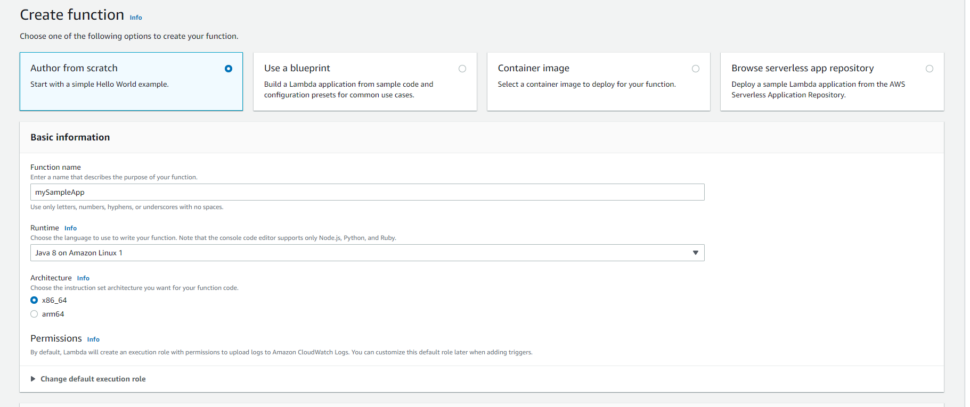
After selecting Create function, It will ask for a few details. Enter the function name which you want to specify and select Java 8 for Runtime and click on Create Function. It will take some time and then it will give something like this
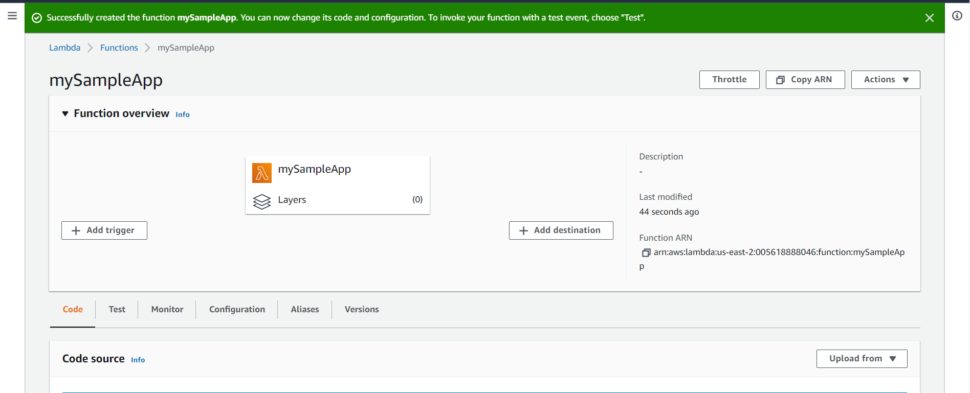
Click on Upload from and select .zip or .jar file

After uploading our build we have to change the runtime as follows:
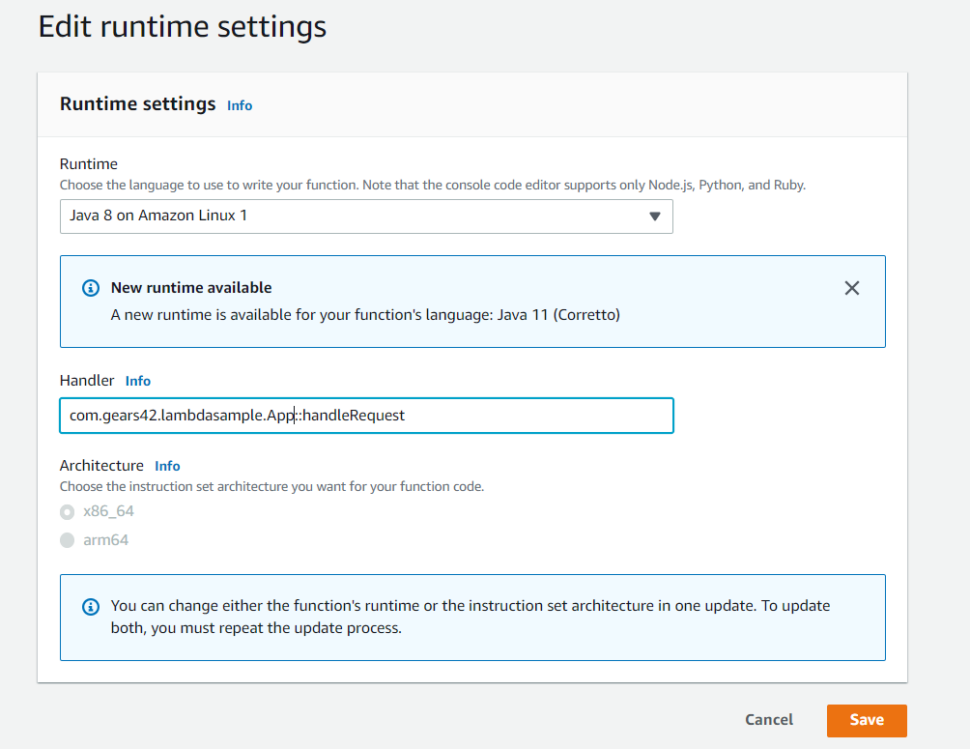
That’s it, our build has been uploaded successfully. Now it’s time to test our build. Select Test tab and create a new test event
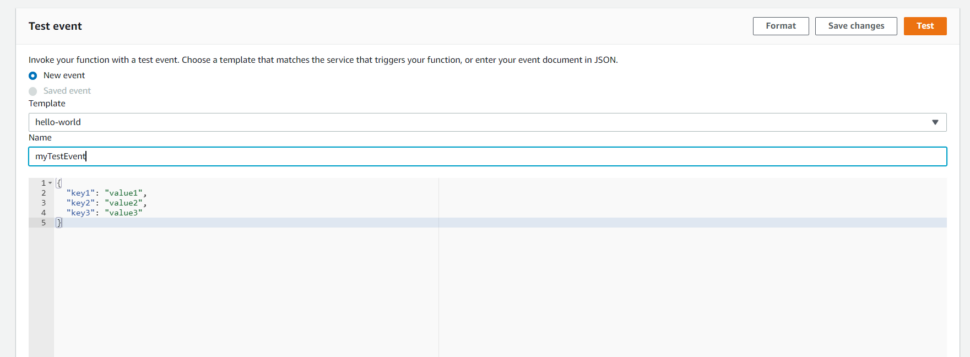
Once you run the test event it will give output something like this:
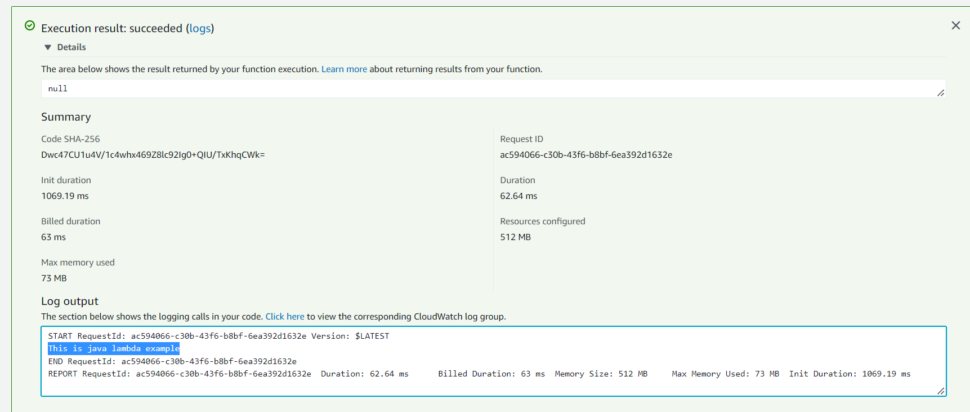
The output highlighted here is the same as we gave in our code. This is how we can create a sample serverless in AWS.

