
In the previous two parts of the blog, I explained how to get a free domain and templates. In this blog, I am going to explain how you can deploy your template and connect a custom domain with it. I am going to use app.netlify.com for hosting, so please register on netlify and verify your account before continuing.
Step 1: Deploy your template
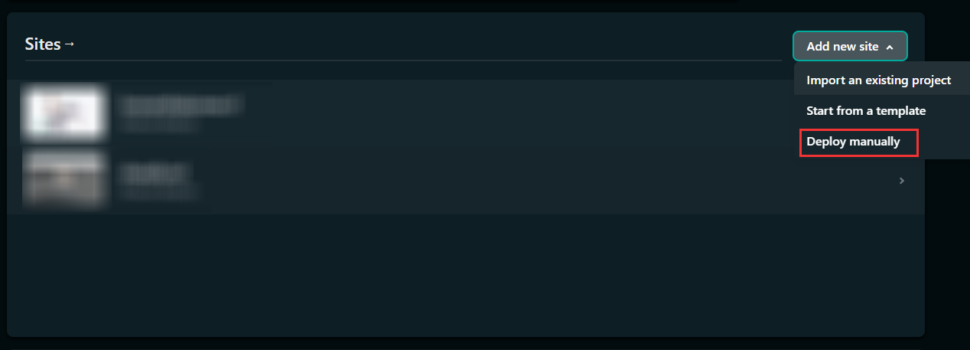
To deploy your template click on Add new site > Deploy manually
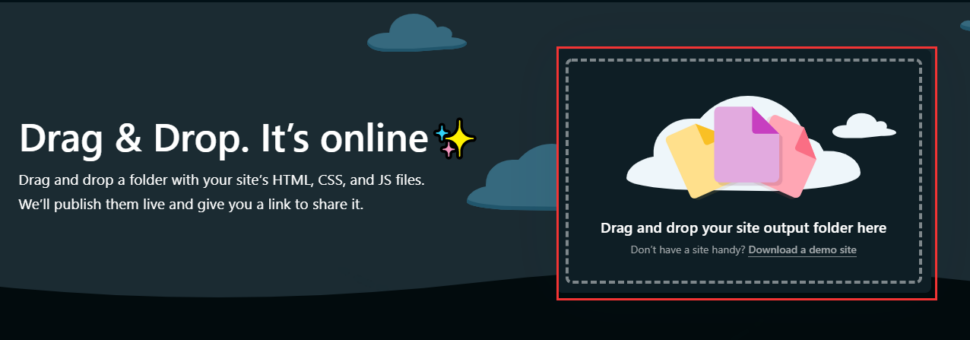
Drag and drop your edited template folder inside the box
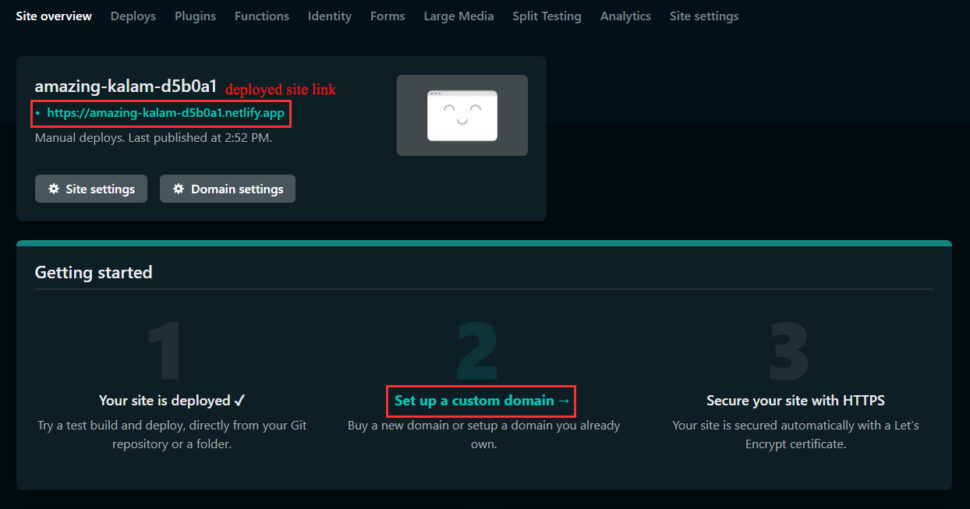
After a few seconds, your portfolio site will be live, you will get a deployed site link, you can access your website from that link also if you do not have any custom domain. Now you have successfully deployed your portfolio website, if you have registered for a free domain then continue to the next steps to set up your website with a custom domain.
You can also even connect your GitHub account and use the repository files for deployment instead of manual deployment by selecting Import an existing project.
Step 2: Add a custom domain to your website
Click on set up a custom domain
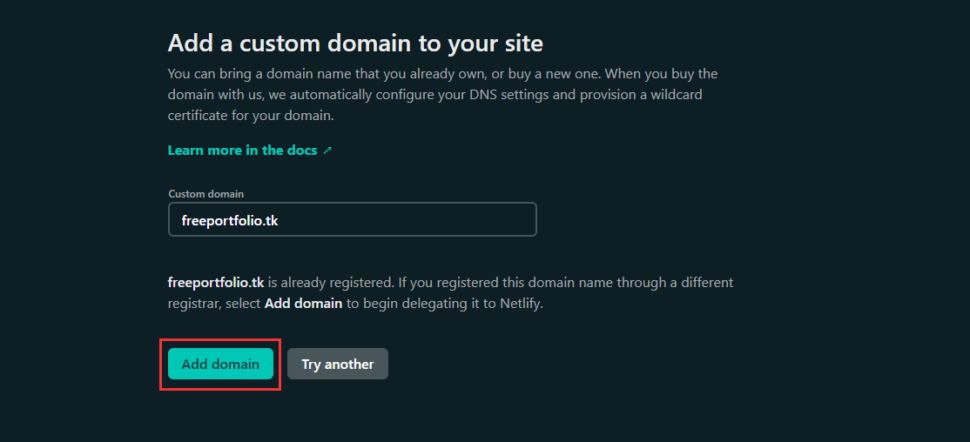
Type your domain name and click on Verify > Add domain > Continue > Done
Step 3: Verify custom domain
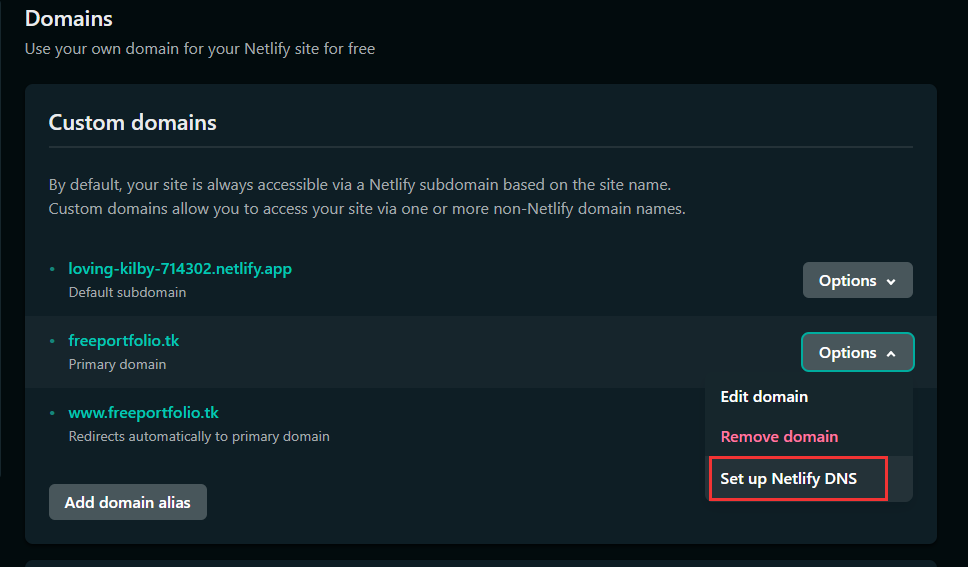
To verify your custom domain click on Options dropdown > Set up Netlify DNS
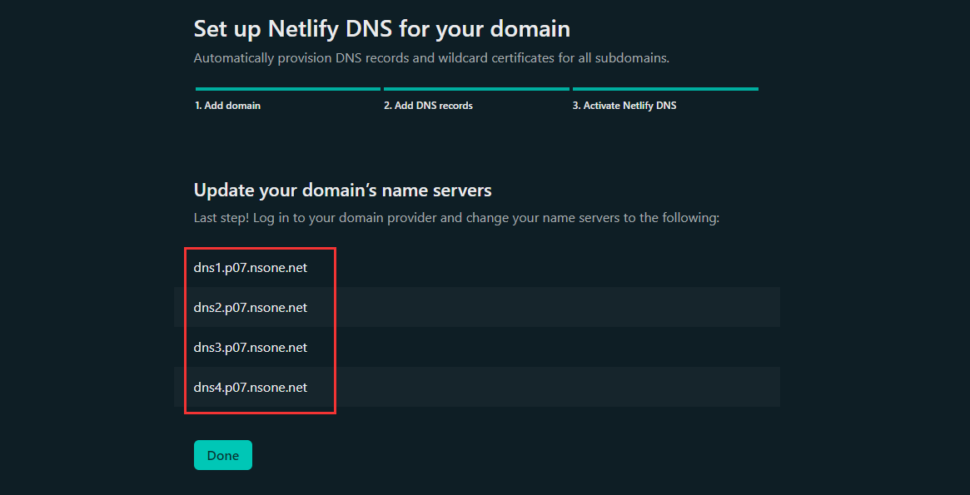
Click on Continue till reaching the 3. Activate Netlify DNS tab. Then note down or copy the domain’s name servers and click on Done
Step 4: Add Netlify DNS to your domain on freenom
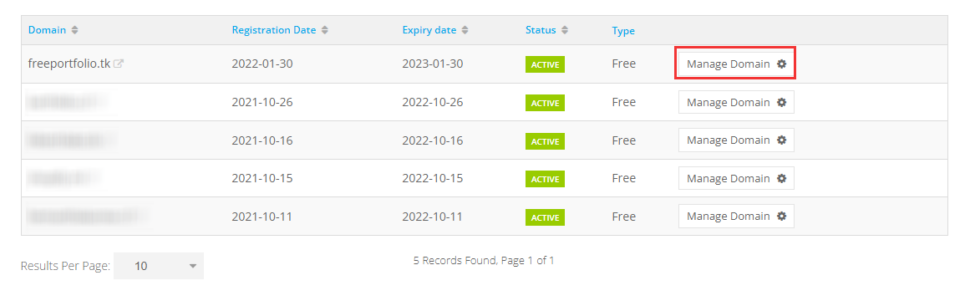
Navigate to Services > My Domains > Manage Domain
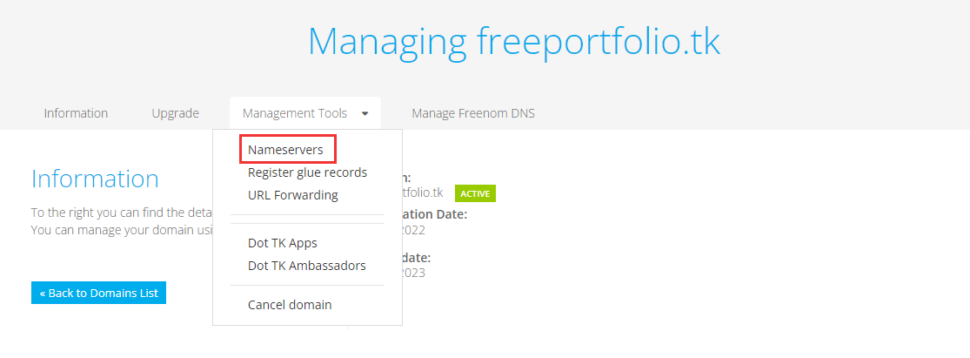
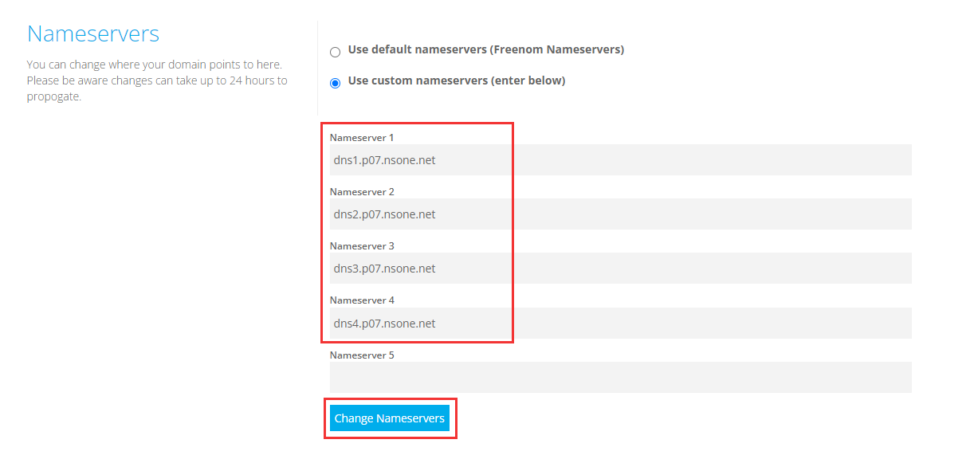
Choose Management Tools > Nameservers
Paste or type the copied domain’s name servers from Netlify on Nameserver blocks in freenom and click on Change Nameserver
Now you have successfully verified and connected your domain with your website or portfolio site. Now you can access your website using the domain name. I have used freeportfolio.tk, you can take a look at how it looks.
Netlify adds an SSL certificate by default, I will explain how can we add our free SSL certificate to our website manually in the next part of the blog.