
Hey folks,
In this blog, we will see how to connect a device to Android Debug Bridge(ADB) using Wi-Fi network in a simple yet efficient way. l Let’s get started!
An overview of ADB
The ADB is a command line utility included with Android SDK or client-server program used in Android application development. It provides a command line interface to control your Android device connected to a computer using a USB . ADB can be used to run shell commands, transfer files, install / uninstall apps and reboot.
An alternate solution to overcome the problem
If you are an Android mobile app developer or a software test engineer, I am sure you have faced trouble debugging your app with ADB while being connected through a USB cable. And the obvious reason behind this is that it sometimes becomes difficult to debug your Android app with a USB cable if your cable is broken or not functioning or you don’t have a cable and you have borrowed it from someone for a limited timeframe. Moreover, you would need different types of USB cables to support the real device that you have.
To overcome USB cable issues, we can also use WI-FI to connect the devices to ADB.
How to achieve that?
Prerequisites:
- The workstation (laptop) and device should be connected to the same WI-FI network.
- Devices should be running on OS Android 11 or on a higher version.
- The latest Android Studio Bumblebee or a higher version should be installed on the workstation.
- We need to update the latest version of the SDK platform-tools.
To use wireless debugging, you must pair your device to your workstation (laptop) using a QR code or a pairing code. Your workstation and device should be connected to the same WI-FI network.
Steps to connect devices to ADB using Wi-Fi
- Enable developer options in your device.
Settings > About phone > Build number
Note: Tap seven times on the Build Number option until you see the message “You are in a developer mode!” . Developer options will be enabled on your phone.
- Enable debugging over Wi-Fi in your device.
A. In Developer options, scroll down till the Debugging section and enable Wireless debugging.
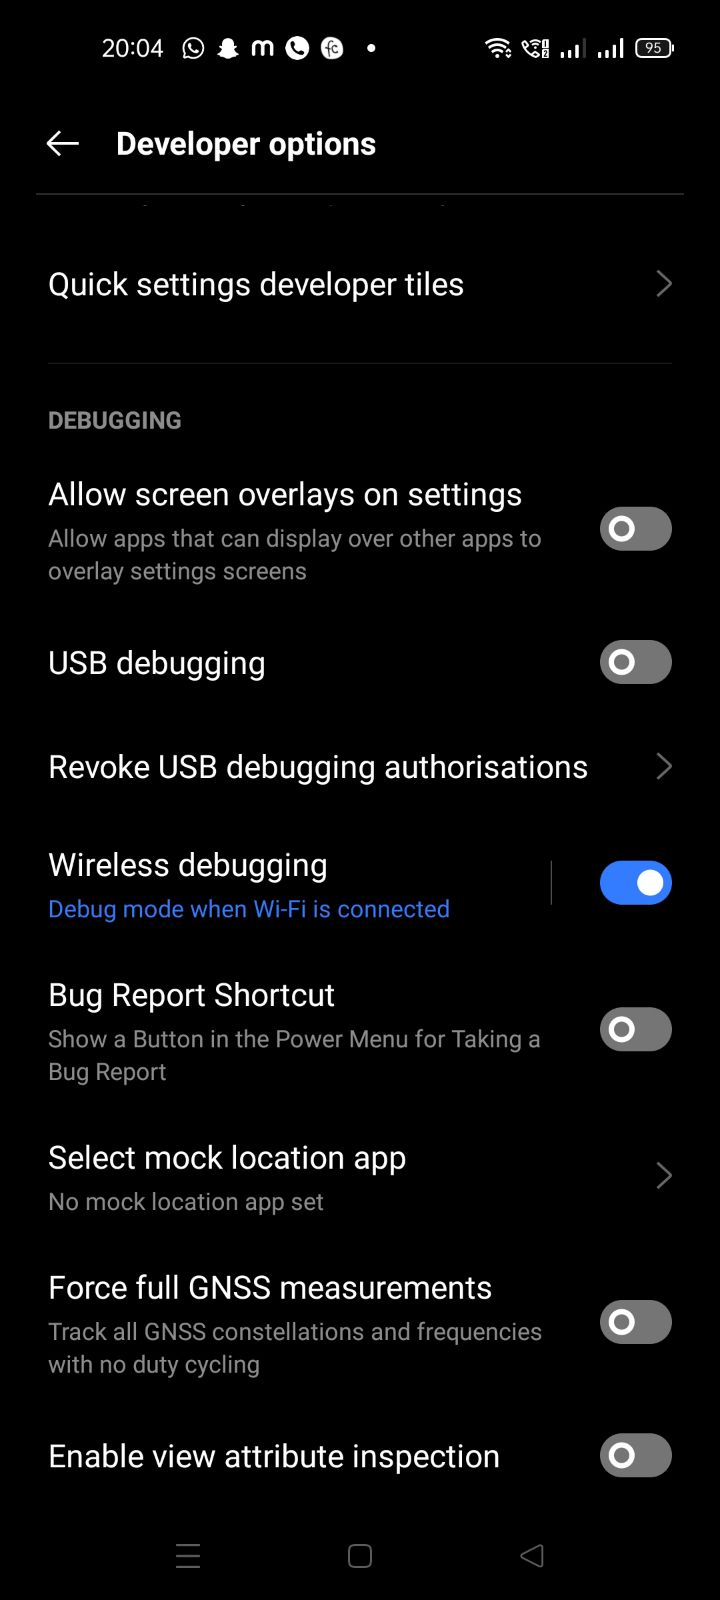
B. Click on Wireless Debugging.
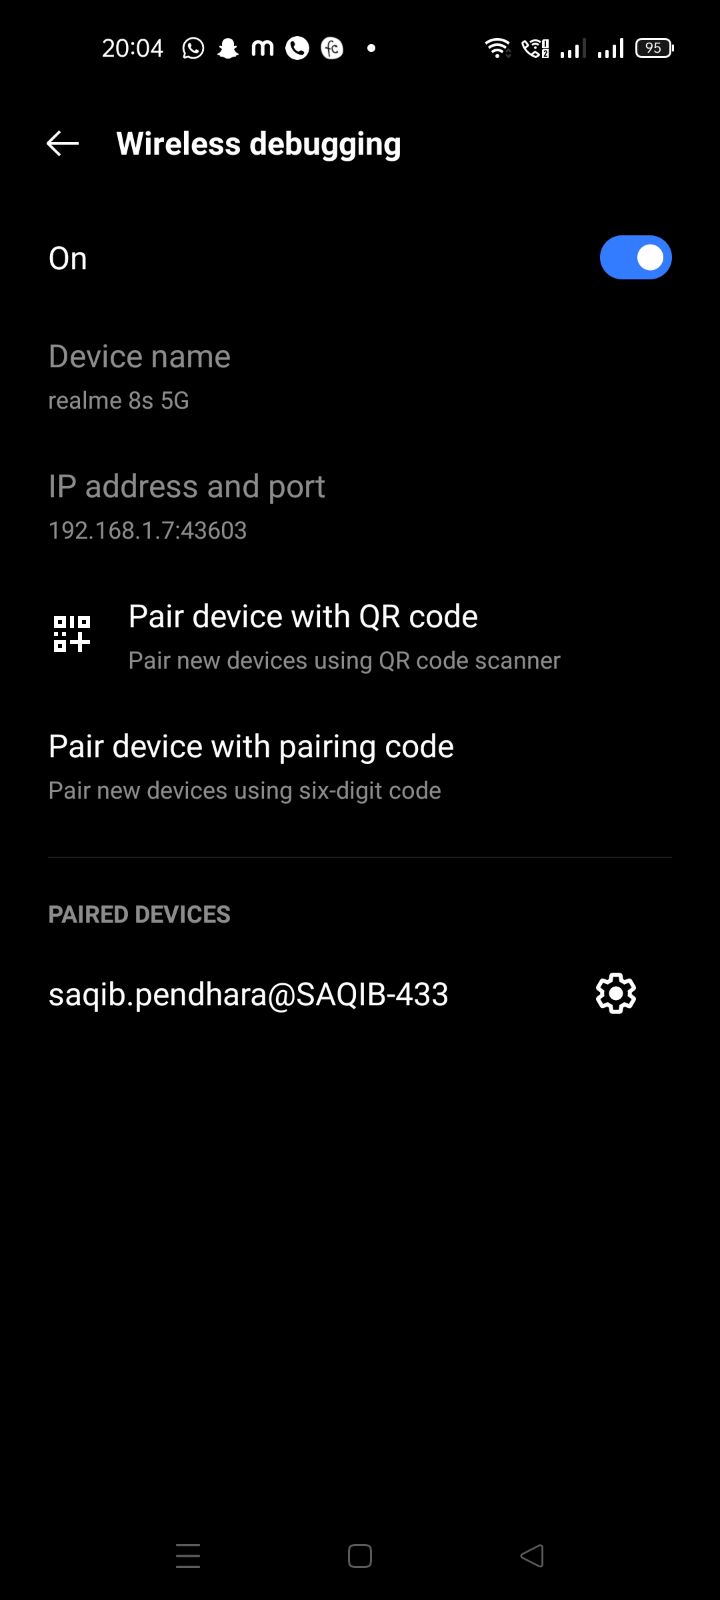
C. Click on Pair Device with QR Code.

- Now open Android Studio and select Pair Devices Using Wi-Fi.

- Scan the QR code from the device (Refer to step no 2.C).

- Launch the command prompt and Run command.
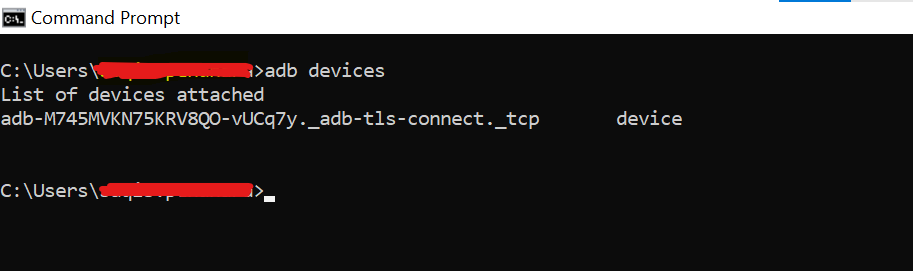
We can see the list of devices connected to the workstation (Laptop).
Now we can apply some of the basic commands on the connected device and perform the required actions.
- adb devices : To list down all the connected devices
- adb devices -l : More information about the device
- adb -s <id> <command> : Multiple devices connected and perform action on particular devices
- adb shell getprop or adb shell getprop [string]:To get device property
- ex: adb shell getprop “ro.build.version.release”
- adb shell getprop “ro.build.version.sdk”
- adb shell : We can access inside the device
- adb push tempp_del.txt /sdcard : To insert a file from device in the device
- rm temp_del.txt : To delete files from the device
- adb pull /sdcard/temp_del.txt : To get the file from the device into the computer
- adb exec-out screencap -p > ./pic.png : To take device screenshot
- adb shell screenrecord “/sdcard/vidfile.mp4”: To start screen recording of the device
- control+c : To kill the command and screen recording will stop.
Conclusion:
ADB is an adaptable command-line tool that gives you the flexibility to communicate with devices. By using WIFI to connect the device to ADB, we can overcome many challenge.For example. we don’t need to maintain USB cables with us for different devices supporting different types of USB cables. We can totally bypass USB cable dependency with this method. Moreover, we can operate the device within the WIFI network range.