Why WAF?
Apart from already deployed firewalls, WAF provides an extra layer of security. It defends our web applications & APIs from common web attacks/exploits and bots like Internet threats. It also helps a lot in monitoring and controlling unusual bot traffic and common attack patterns.
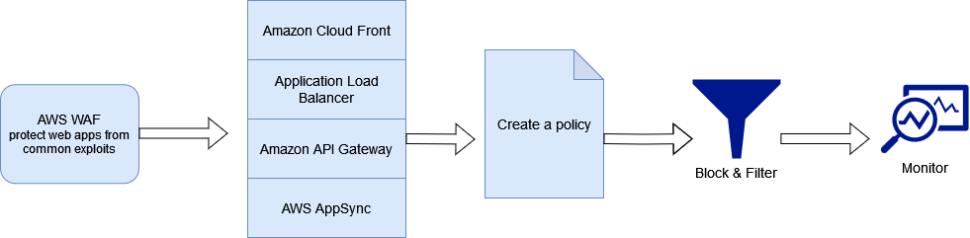
How it works?-There are mainly 4 parts of this configuration.
1) AWS WAF 2)Create a policy 3) Block Filters 4) Monitor
Below is a flow diagram of the setup for reference.
How to set up?– Firstly we should have an active AWS account to begin with. Then search for WAF & Shield and it will land us on WAF Home.
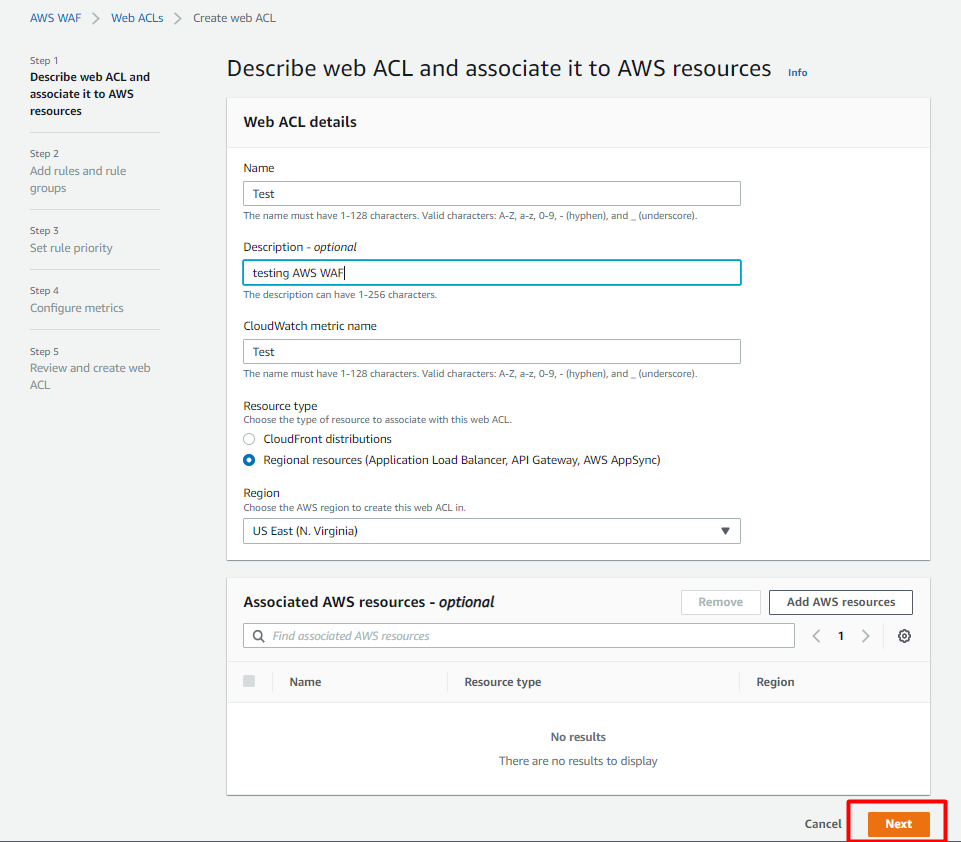
Select Create a Web ACL> name it>Description – optional>CloudWatch metric name- change the default name if required> Resource type- choose as per requirement> Region- choose the one where we want to deploy.
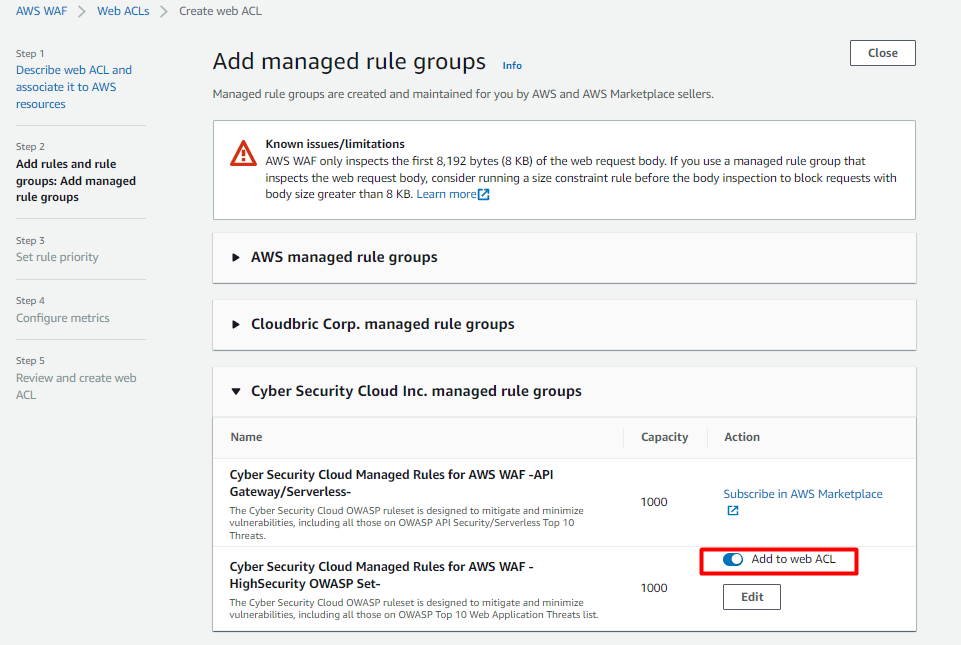
Add rules and rule groups- Here we will have 2 options. Managed rule groups & own rules and rule groups. We can choose any 1 as per our requirement. For example we are going ahead with 1 managed rule group.
Managed Rule Groups> Cyber Security Cloud Inc. managed rule groups> Cyber Security Cloud Managed Rules for AWS WAF -HighSecurity OWASP Set > Add Rule
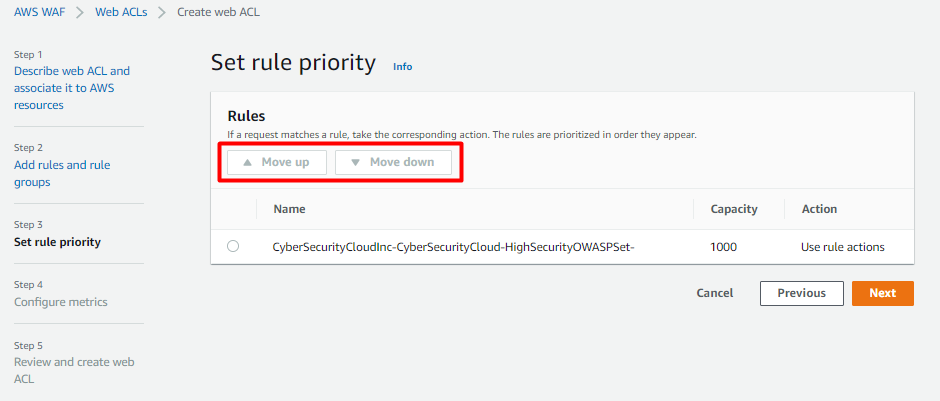
Set rule priority-
If we are setting up more than 1 rules, then we can set its execution afinity here by ascending order
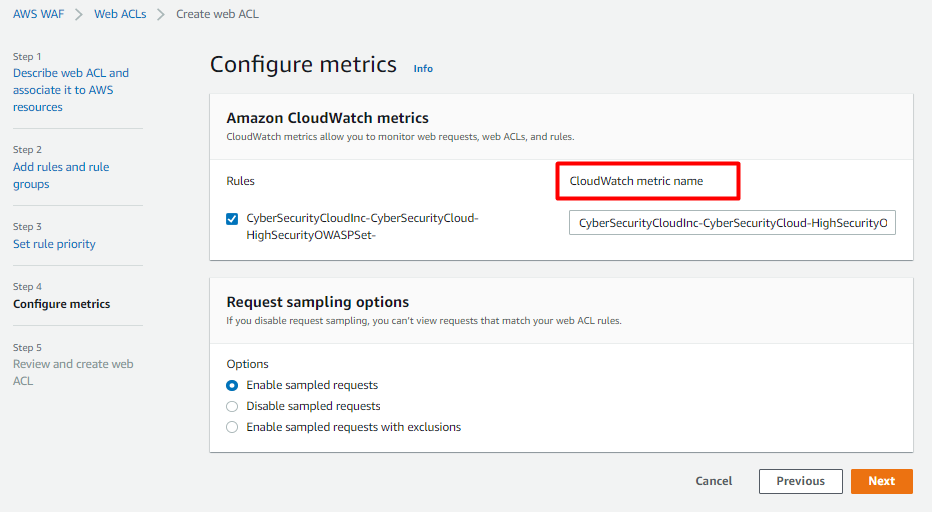
Configure metrics- Here we can edit the cloudwatch metric name as per our requirement and set the sampling options.
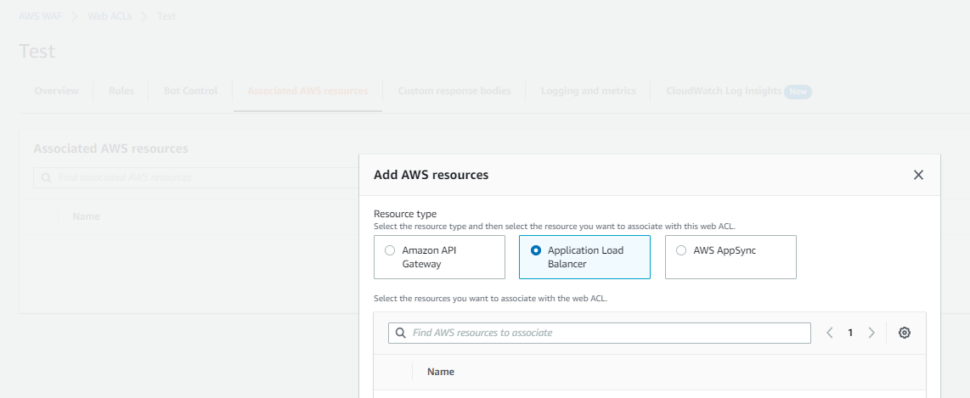
Review and create web ACL- Click ‘create web ACL’ button to create it. At this point our WAF is created successfully. We can use it for various options like App LB, cloudfront or api gateway etc. For example- lets consider an application load balancer.
Select the created WAF and head over to Associated AWS Resources tab> Click on Add AWS Resources> Click Application Load Balancer> Select the load balancer you want to protect.
Extras & Troubleshooting-
If the added k8s load balancer gets removed automatically from resource list, then add below tag to LB ingress under annotations tag with proper ID. Note that waf-acl-id will be available on the console as shown, under tag “ID”.
alb.ingress.kubernetes.io/waf-acl-id: ea199076-xxx-xxxx-xxxx-xxxxxxxxxxx