
What is S3 on AWS?
Amazon Simple Storage Service (Amazon S3) is an object storage service that offers industry-leading scalability, data availability, security, and performance. You can use Amazon S3 to store and retrieve any amount of data at any time, from anywhere. Amazon S3 stores data as objects within buckets.
Requirement for Buiding this Tool
- Visual Studio(2017 0r 2019, I will be using 2019)
(link : https://docs.microsoft.com/en-us/visualstudio/install/install-visual-studio) - .NET Core SDK
(link : https://dotnet.microsoft.com/en-us/download) - AWS (IAM User account with Full access to the buckets)
Lets Create Folder in AWS and Add some Files to S3 Bucket
To get started with creating a bucket you first need to have an AWS (IAM user) account with Create, Edit, Delete aka full access to the buckets to perform these operations.
Log in to the AWS account and go to the S3 bucket and then to the bucket name that you want to add your files and folders to

This is how the Screen looks like
To upload some Files/Folder hit on the Upload button
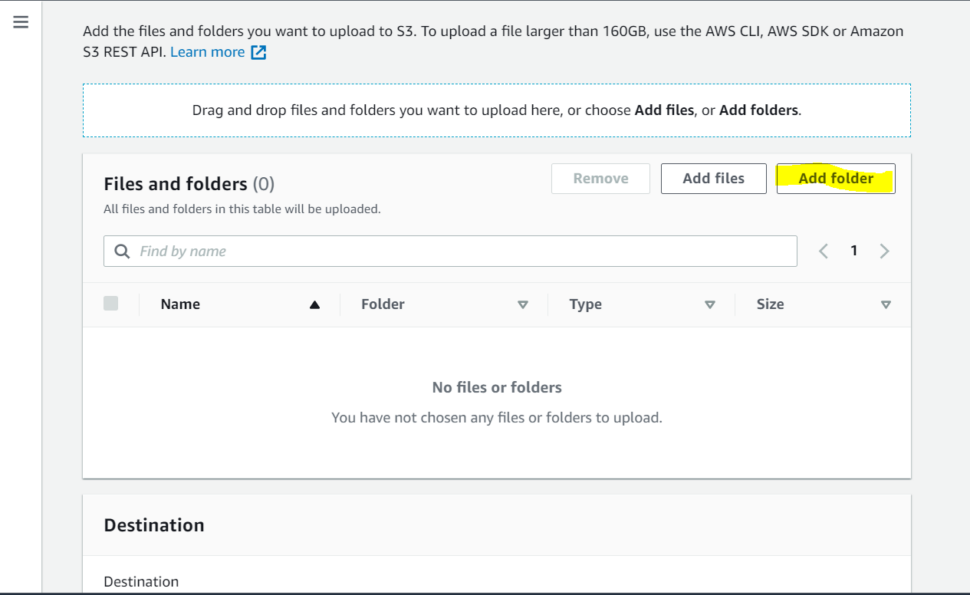
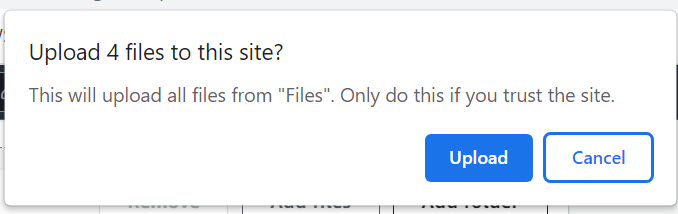
This will direct to the files and folder available on your computer, go to the desired folder or files and hit on upload, a pop-up will be displayed as shown below
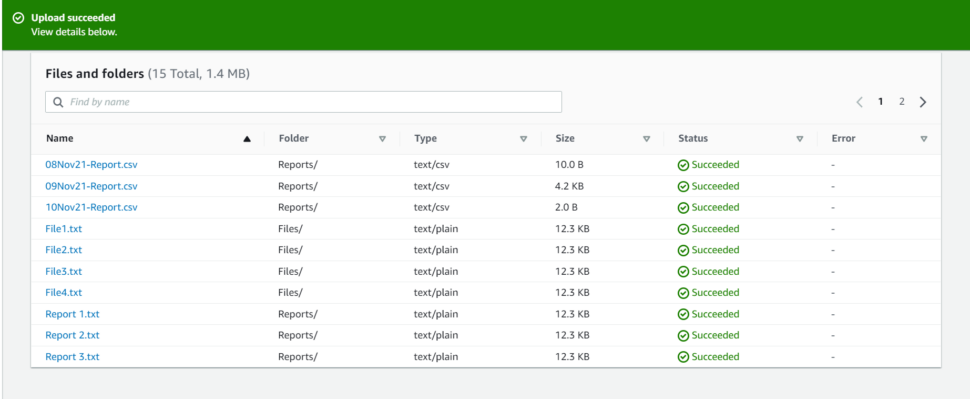
This is how it looks like after uploading folder, I have uploaded folder named “Reports”, “Files” and “Sheets” which contain .csv files, .txt files respectively in them. You can also upload only files in the similar manner.
Following are the Steps to Create this Tool
Step 1: Create a Visual Studio 2019 new project, Select Console Application in .NET Core framework.
Step2: Give a name to the project and select the framework .NET Core 3.1, click on Create
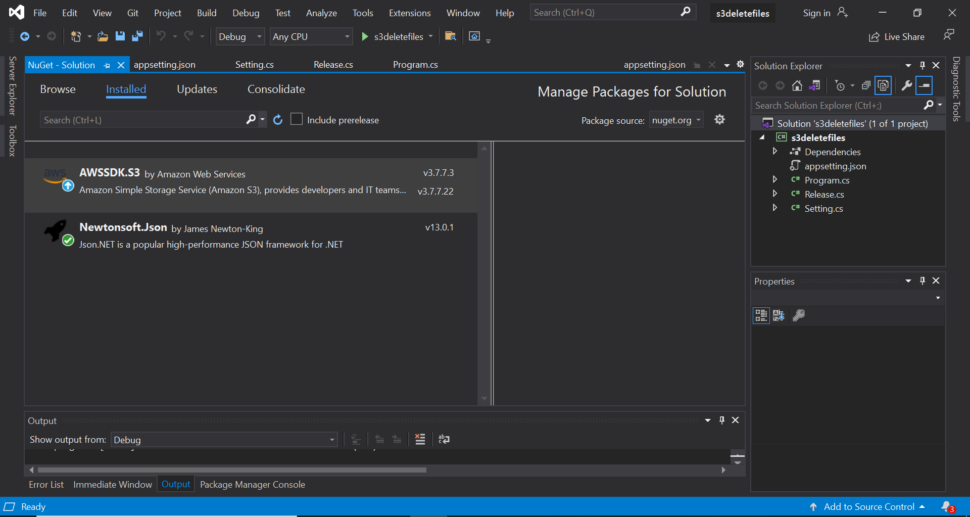
Step3: Add Appsetting.json. Go to solution explorer, add a new JSON file and name it as appsettings.json (Right-click on the project name>Add>New Item).
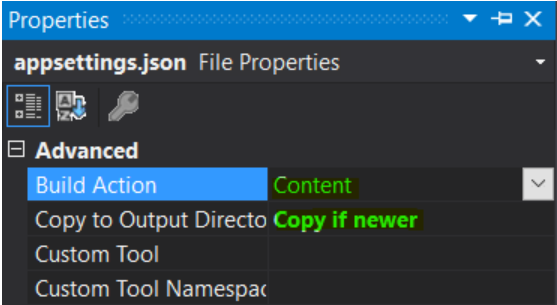
Step 4: Now let’s make the appsettings.json configurable. Right-click on appsettings.json -> click on properties. “Build Action” should be set to “Content,” and “Copy to Output Directory” should be set to “Copy if newer”. The content of appsettings.json will remain the same even after building the application this will help us make our application configurable.
Step 5: Adding value pairs in our appsettings.json. We are making these four key-value pairs configurable. Copy the below code into your appsettings.json file. I am adding a Path to the keyword as shown below
{
  "BucketName": "Bucket-Name",
  "SecretKey": "Secret-key",
  "PublicKey": "Public-key",
  "Region": "ap-south-1"
}
Step 6 : Reading/Importing values from appSettings.json
Finally extract values and use them in our application. So, to extract these values from the appsettings.json file, create another .cs file and name it Settings.cs. You can copy the following code into your Settings.cs file.
namespace SampleConfigurableApp
{
    using System;
    using System.Collections.Generic;
    using System.IO;

    namespace SampleConfigurableApplication
    {
        public class Settings
        {
            public static Dictionary<string, string> GetData()
            {
                Dictionary<string, string> items = null;
                string path = AppDomain.CurrentDomain.BaseDirectory;
                try
                {
                    using StreamReader reader = new StreamReader(path + "/appsetting.json");
                    string json = reader.ReadToEnd();
                    items = Newtonsoft.Json.JsonConvert.DeserializeObject<Dictionary<string, string>>(json);
                }
                catch (Exception ex)
                {
                    Console.WriteLine(ex);
                }
                return items;
            }
        }
        public class Appsettings
        {
            public static Dictionary<string, string> appsettings = Settings.GetData();
        }
    }
}
Now, the setup for various job operations is ready.
In the next blog, we will learn how to List the S3 buckets using ASP .NET core.